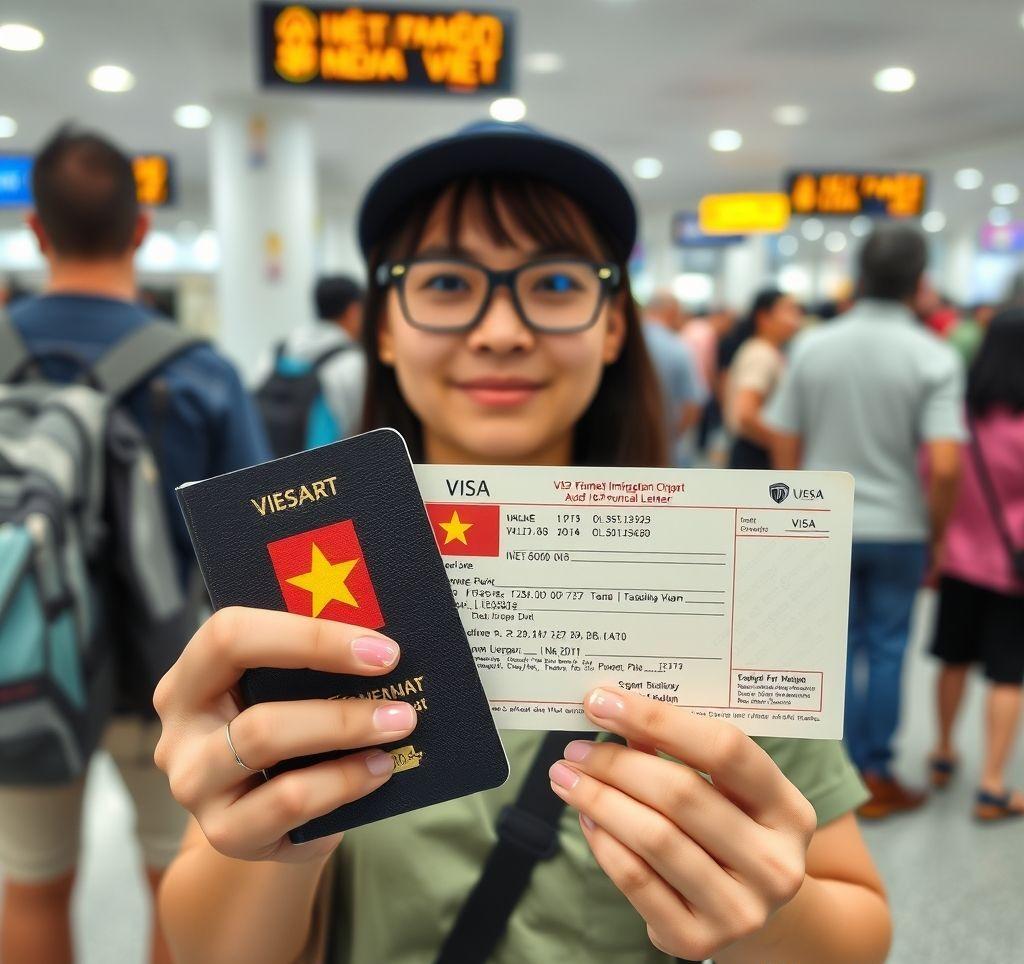
Vietnam is like a treasure chest full of beautiful sights, deep traditions, and mouth-watering food. But before you can unlock this treasure, you need a key—a visa. This guide will show you, step by step, how to get your visa, whether online or when you land.
Different Keys for Different Journeys
Vietnam has a few types of visas, like different keys for different doors. Here are the most common ones for travelers:
- Tourist Visa (DL): Works for 30 days, and you can use it once or many times.
- E-Visa: Like a fast pass—apply online for stays up to 30 days.
- Visa on Arrival (VOA): For those flying in, with a special letter you get beforehand.
How to Get Your Visa
1. Pick the Right Key
First, choose the visa that fits your trip. If you’re staying less than 30 days and your country is on the list, the e-visa is the easiest path.
2. The Online Shortcut
Go to Vietnam’s official e-visa website. Fill out the form, upload a photo of your passport and a picture, then pay the fee. It usually takes 3-5 days to get your e-visa.
3. The Landing Pass
If you choose Visa on Arrival, here’s how it works:
- Apply online with a trusted agency to get an approval letter.
- Get the letter by email in 2-3 days.
- Print the letter and bring passport photos.
- Show these at the Visa on Arrival desk when you land and pay the fee.
4. The Traditional Route
For longer stays or if other options don’t work, visit a Vietnamese embassy. Bring your application, passport, photos, and fee. Processing times vary.
Tips to Avoid Bumps in the Road
- Apply early—don’t wait until the last minute.
- Check all your papers for mistakes.
- Keep copies of your visa and passport safe.
For more travel tips, check out Journey Vietnam or watch our YouTube channel for stunning stories about Vietnam’s wonders.

