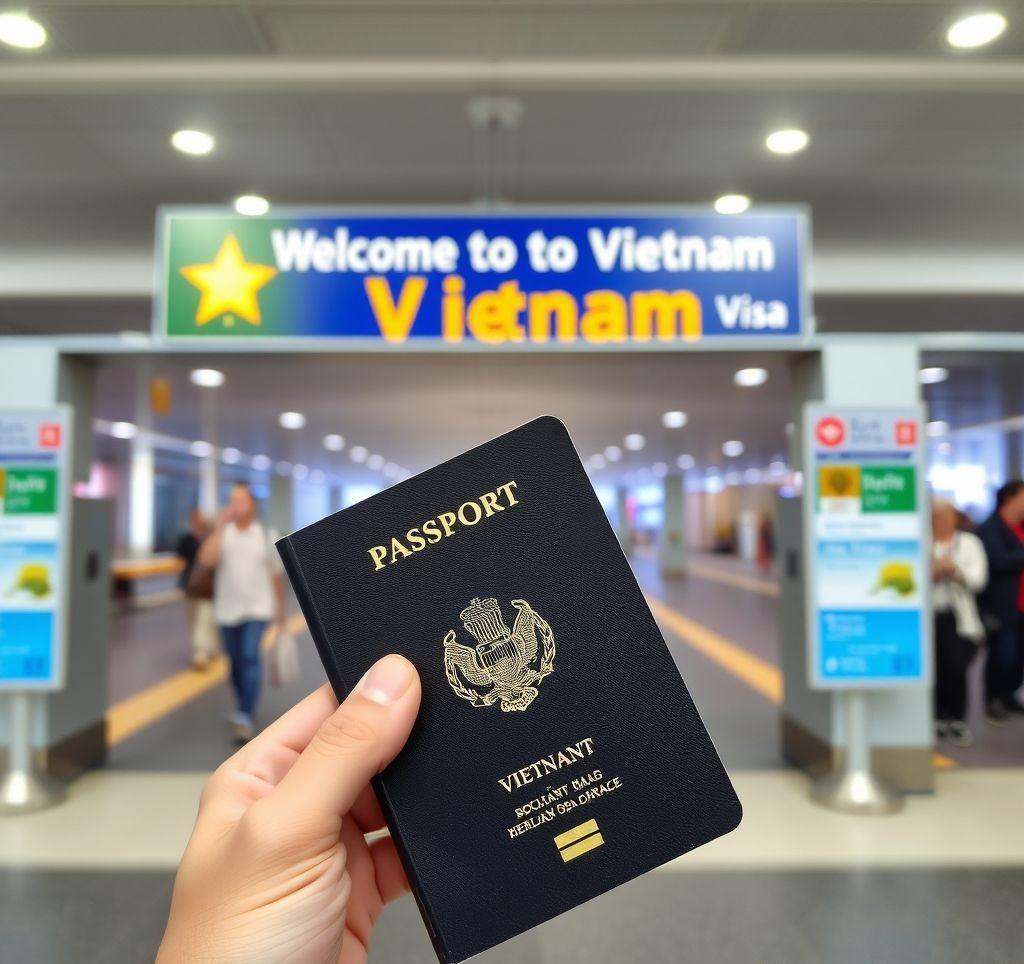
Vietnam is like a colorful painting full of life, with its deep traditions, breathtaking views, and busy cities. Before you start your adventure, getting the right visa is like having the right key to open a door. This guide will show you, step by step, how to get a Vietnamese visa, including online choices and tips for getting one when you arrive.
Different Kinds of Vietnamese Visas
Vietnam has a few types of visas for travelers, such as:
- Tourist Visa (DL): Good for 30 days, with one or many entries.
- E-Visa: People from 80 countries can get this. It lasts 30 days and lets you enter once.
- Visa on Arrival (VOA): You need a letter saying you can get this before you go. It’s good for 30 days and can be for one or many entries.
How to Apply for a Visa, Step by Step
Here’s how to get your Vietnamese visa:
- Pick Your Visa Type: Decide between an e-visa, visa on arrival, or going to an embassy.
- Get Your Papers Ready: You’ll need your passport, photos, and a form to fill out.
- Apply Online or at an Embassy: Send your application through the official e-visa website or visit a Vietnamese embassy.
- Pay the Visa Fee: The cost changes based on the visa type and how long it lasts.
- Wait for Your Approval Letter (VOA): If you’re getting a visa on arrival, you’ll get this letter by email.
- Get Your Visa When You Arrive: Show your approval letter and passport at the airport.
Tips to Make the Visa Process Easy
To avoid problems or waiting too long:
- Apply at least 7-10 days before you leave.
- Check all your papers to make sure they’re right.
- Keep copies of your approval letter and passport safe.
For more travel advice and guides, visit Journey Vietnam or check out our YouTube channel for exciting stories about Vietnam.

